
Showing posts with label DIY. Show all posts

Thursday, September 15, 2011

Say Goodbye to Hot Rollers and Hello to the "Hair Halo"


I love big soft curls, but standing in the bathroom with a curling iron or putting in hot rollers can be a time-consuming pain!  I'm the queen of multi-tasking so when I have to use the curling iron {which means I can't really be doing anything else} I tend to get bored and don't often get a full head of curls. Plus the DC weather is so humid most of the year that by the time I get to the metro in the mornings {which is only a 10 minute walk} my curls are usually kaput!

So I was ecstatic when I came across the YouTube post How to get Vintage Style Curls without Heat by thelipstickdiaries.  I modified the instructions somewhat to get my version of soft luscious no-heat curls with minimal time in front of the mirror.

I call this the "Hair Halo"

What do you need:
* A stretchy headband
* 10 minutes

Brush out your hair and part it where you would normally wear your part. Today I did the part a little off to the side, but generally I part it down the middle. Pull the stretchy headband over the crown of your head over top of your hair.

{apologies for the missing faceplate on my light switch in some of  these photos!! I'm getting ready to have the house painted this weekend!}

Starting from the front, take a small section of hair and wrap it once around the headband.

Continue taking small sections of hair and wrapping the hair around the headband. You will do this on both sides, moving from the front of your head to the back.

When you get to the back of your head, slide the wrapped hair on the left side towards your left ear; do the same on the right side {towards your right ear}. You want to open up space on your headband for wrapping the remaining back sections of hair.

{apologies for the bra straps in these shots!!  My bathroom can get mighty hot when I have the heat lamp on!}

When you have two sections of hair remaining, take one section of hair and wrap it around the headband several times until all the hair is wrapped and the ends are tucked under the headband. Repeat the same process with the other section of hair.

This is what it looks like from the back when you have all the sections wrapped around the headband.

Lift the headband off your forehead and move it onto the crown of your head.  Now you have the "Hair Halo" {which actually can be a cute look worn intentionally, especially when done a little bit messy}.

When I get to the office 40 minutes later {or wherever I'm going}...
Remove the headband and...

VOILA!!
**I ran my fingers through the curls to separate them a bit.
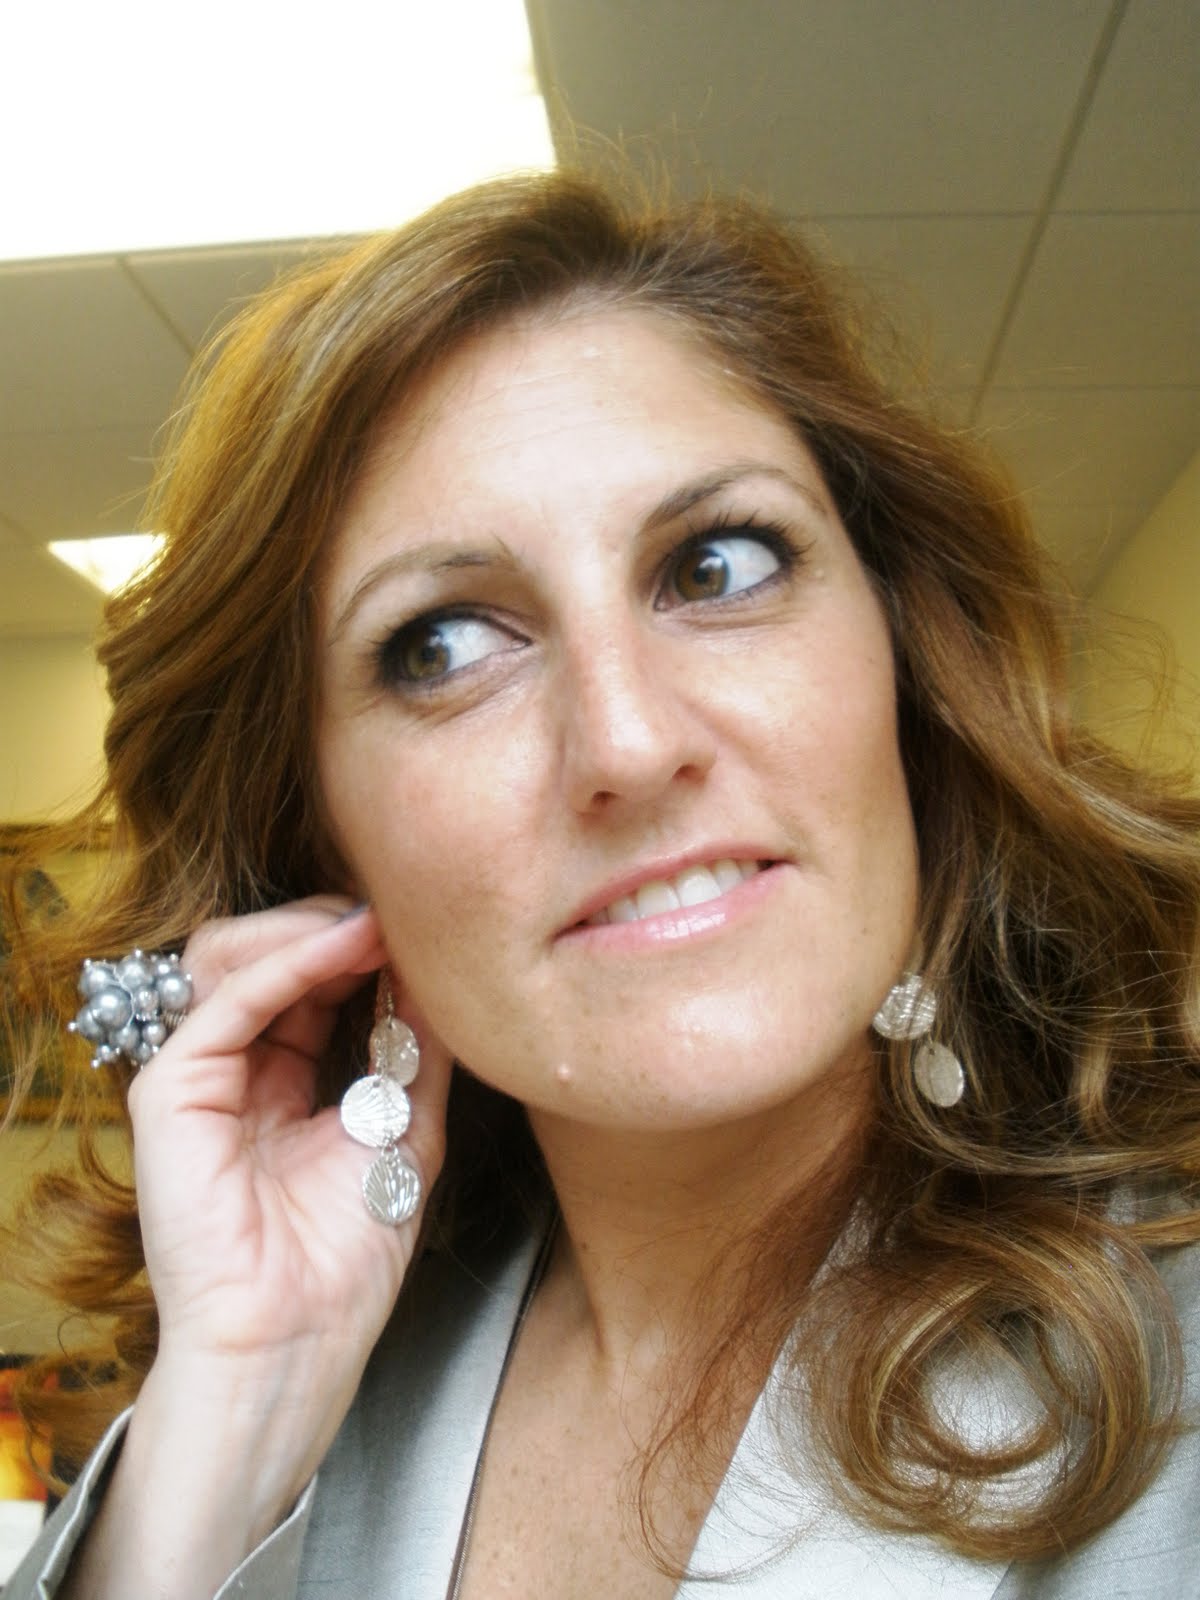

When I leave the office today, I'll redo the "Hair Halo" for my commute home, especially if I have after-work plans.  Works great on 2 or 3 day old {i.e. not freshly washed} hair as well!!

What I'm wearing:
* Silver earrings by beloved by lindsay - from the pure silver collection {pictures available soon}
* Pearl cluster ring by beloved by lindsay {pictures available soon}
* Green silk camisole by Saja
* Gold silk suit I had custom made in Thailand
* Nail polish: Frankly I Don't Give A-Dam by Sephora for O.P.I. from the fall 2011 collection
Pin It
Happy Thursday, my beloved.

Tuesday, September 13, 2011

I'm a traveler of both time and space

This past weekend I went through my closet, and I came across a black leather jacket that I've been meaning to upcycle for some time now. I've had the jacket since college. It was a big purchase for me at the time so I held onto it all these years, intending to find a better purpose for it. But until this past weekend, I completely forgot I had this treasure lying in my closet! {I can be a bit of a hoarder}

ALL DAY yesterday I couldn't get this leather out of my mind! Plus it's NY Fashion Week, so I've been thinking about big, bold statement pieces for fall. I while back I read a fantastic leather cut-out statement DIY by ...love maegan and thought this would be a fun and easy project to try...


I especially like this piece because it's made from all recycled parts:

* Leather - recycled from a leather jacket I've had since college
* Gold chain - recycled from a necklace I bought at H&M about a month ago. I wanted to quickly add gold tasselss to a black satin shorts romper I was wearing later that evening, but I didn't have time to get to the jewelry store for proper gold chain, so I improvised. That necklace has proven to be most useful...there's still more left!
* Glass beads - recycled from the same H&M necklace {I have since removed the beads from the end tassel because it was too heavy for the necklace when with the tassel worn down the back}
* Gold jump rings - handmade by me; 24ct gold jump rings made from a scrap of leftover wire from a ring I'm making for a customer
* Brass clasp - handmade by me; brass from a jeweler / Metallurgist I met on my recent trip to Toronto from The Beadery.
* Leather strips - you can't see them well in this photo, but the tassel at the end of the chain also has two triangular leather strips attached with a gold jump ring.

I kind of like the simplicity of this piece, but I will probably add some detail / character elements to it {or make a new one altogether}.


Have a great Tuesday, beloved!


Title: lyrics from Kashmir - Led Zeppelin

Linkwithin

Related Posts Plugin for WordPress, Blogger...