
I love big soft curls, but standing in the bathroom with a curling iron or putting in hot rollers can be a time-consuming pain! I'm the queen of multi-tasking so when I have to use the curling iron {which means I can't really be doing anything else} I tend to get bored and don't often get a full head of curls. Plus the DC weather is so humid most of the year that by the time I get to the metro in the mornings {which is only a 10 minute walk} my curls are usually kaput!
So I was ecstatic when I came across the YouTube post How to get Vintage Style Curls without Heat by thelipstickdiaries. I modified the instructions somewhat to get my version of soft luscious no-heat curls with minimal time in front of the mirror.
I call this the "Hair Halo"
I call this the "Hair Halo"
What do you need:
* A stretchy headband
* 10 minutes

{apologies for the missing faceplate on my light switch in some of these photos!! I'm getting ready to have the house painted this weekend!}


{apologies for the bra straps in these shots!! My bathroom can get mighty hot when I have the heat lamp on!}


 Lift the headband off your forehead and move it onto the crown of your head. Now you have the "Hair Halo" {which actually can be a cute look worn intentionally, especially when done a little bit messy}.
 When I get to the office 40 minutes later {or wherever I'm going}...

Remove the headband and...

VOILA!!
**I ran my fingers through the curls to separate them a bit.
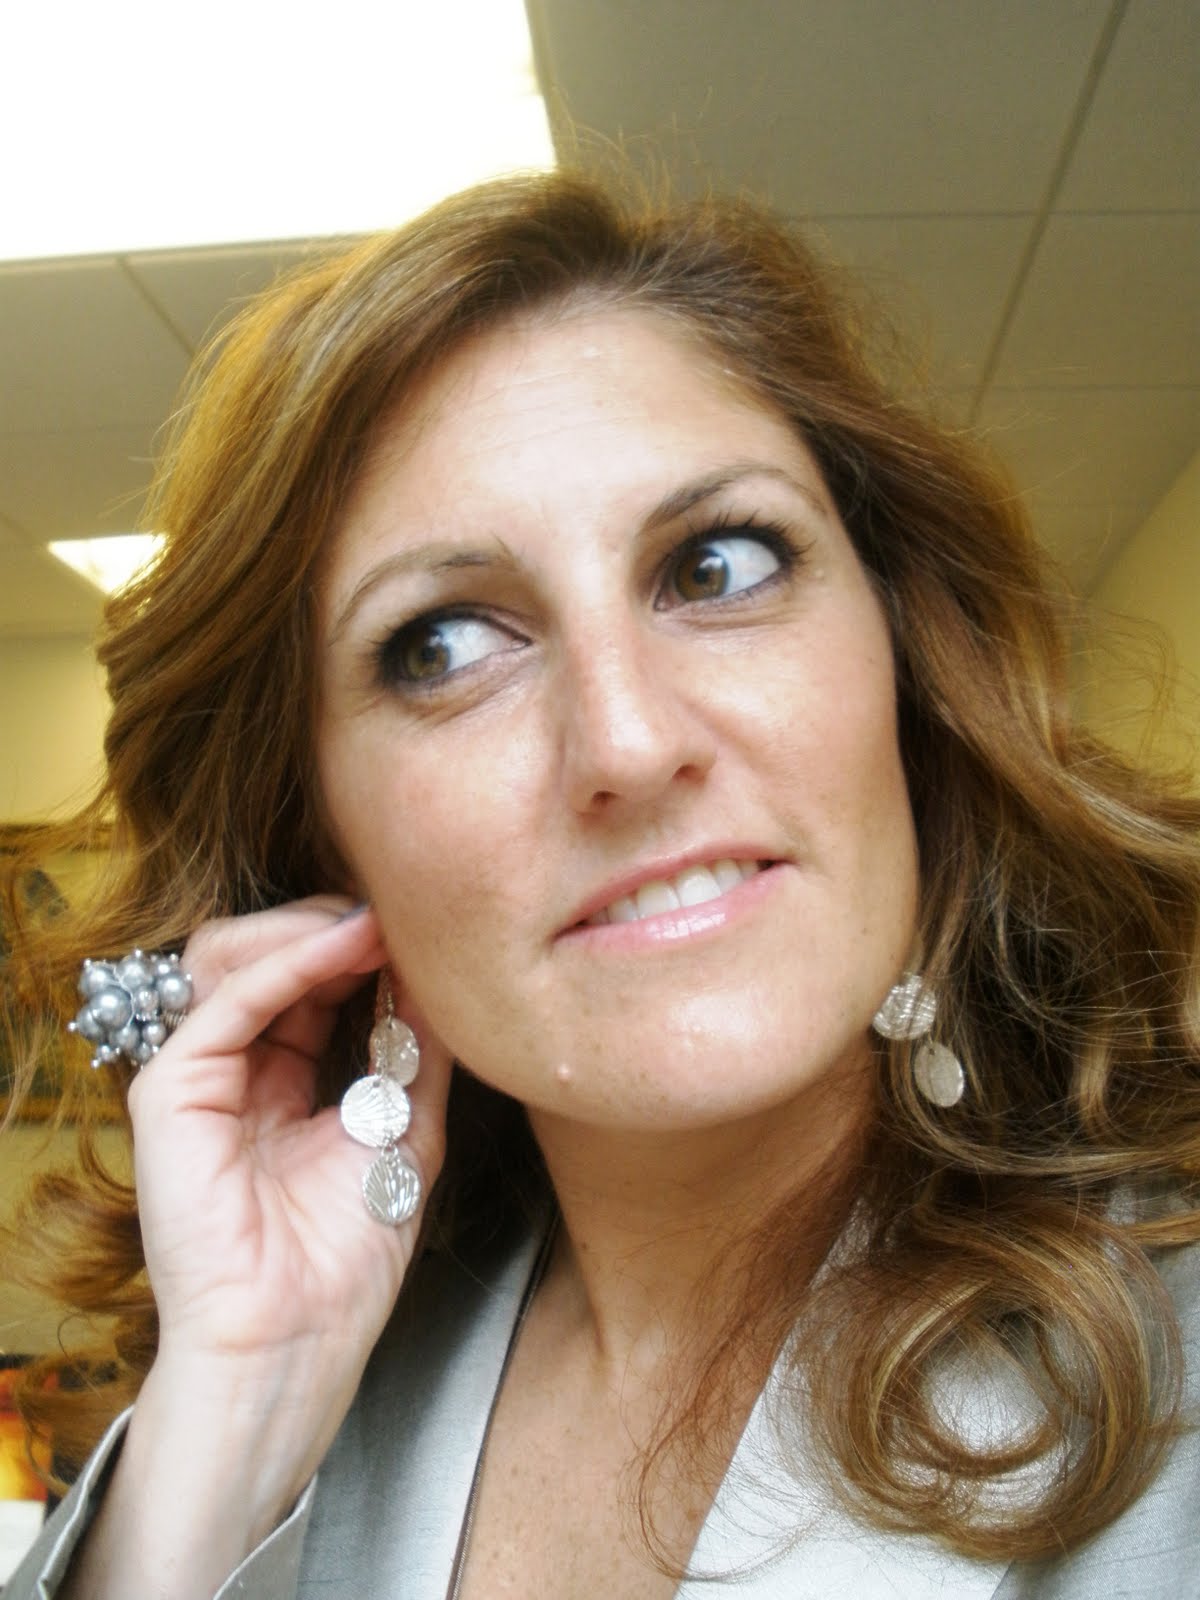

What I'm wearing:
* Silver earrings by beloved by lindsay - from the pure silver collection {pictures available soon}
* Pearl cluster ring by beloved by lindsay {pictures available soon}
* Green silk camisole by Saja
* Gold silk suit I had custom made in Thailand
* Nail polish: Frankly I Don't Give A-Dam by Sephora for O.P.I. from the fall 2011 collection
